
What lies ahead...

The recipe called for two sticks of butter, but since I'm attempting to make it as non-fattening as possible.....

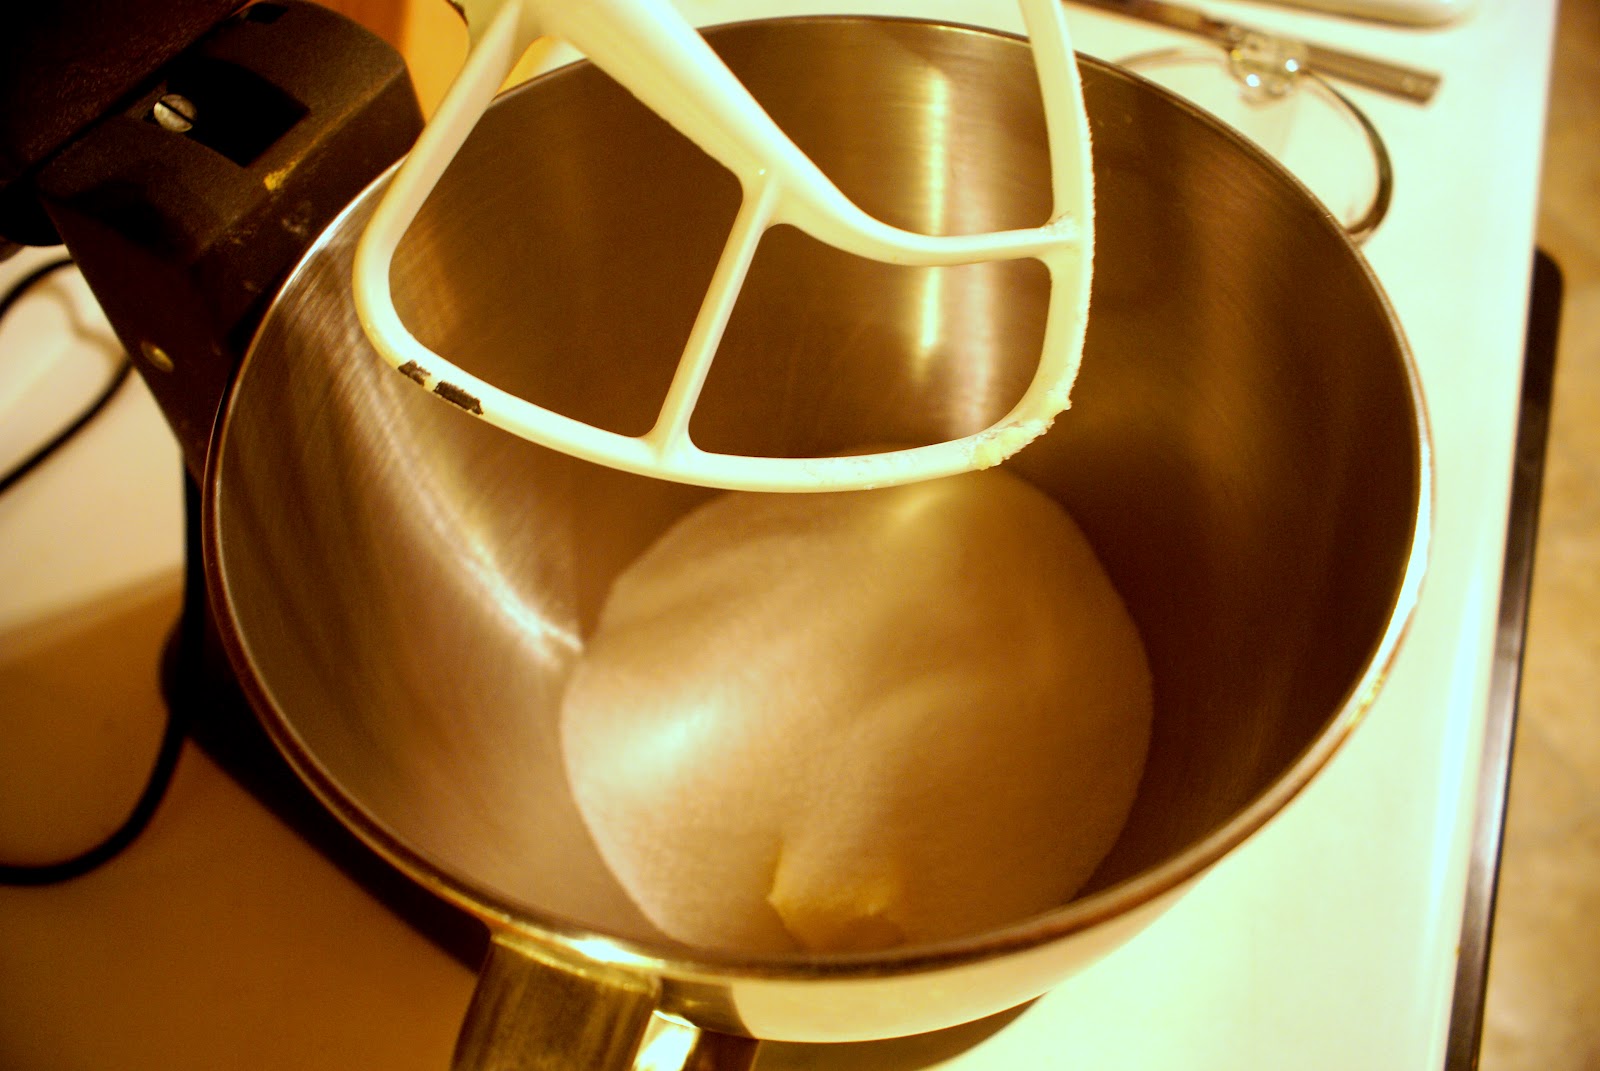
So first, put the butter and 2 cups of sugar into your mixer or a bowl and pastry cutter. See the butter peeking out?

Cream it till it looks about like mashed potatoes. Or it just looks like this.

Now get two eggs. You DON'T have to use brown eggs! I just used them to make myself feel sophisticated.

Mix in the eggs one at a time on low speed, until it looks about like this.

Then get a cup of sour cream, dump it into the mixer and set it on low while you scrounge for your vanilla extract. Add 1 tsp.

Now dump 2 cups of all-purpose flour into a mixing bowl, and a tsp. of baking powder plus a tsp. of salt. I felt the need to show you my cute measuring spoon.

Your mixture should look like flour. If it doesn't....well, let's just say you may have forgotten a step.
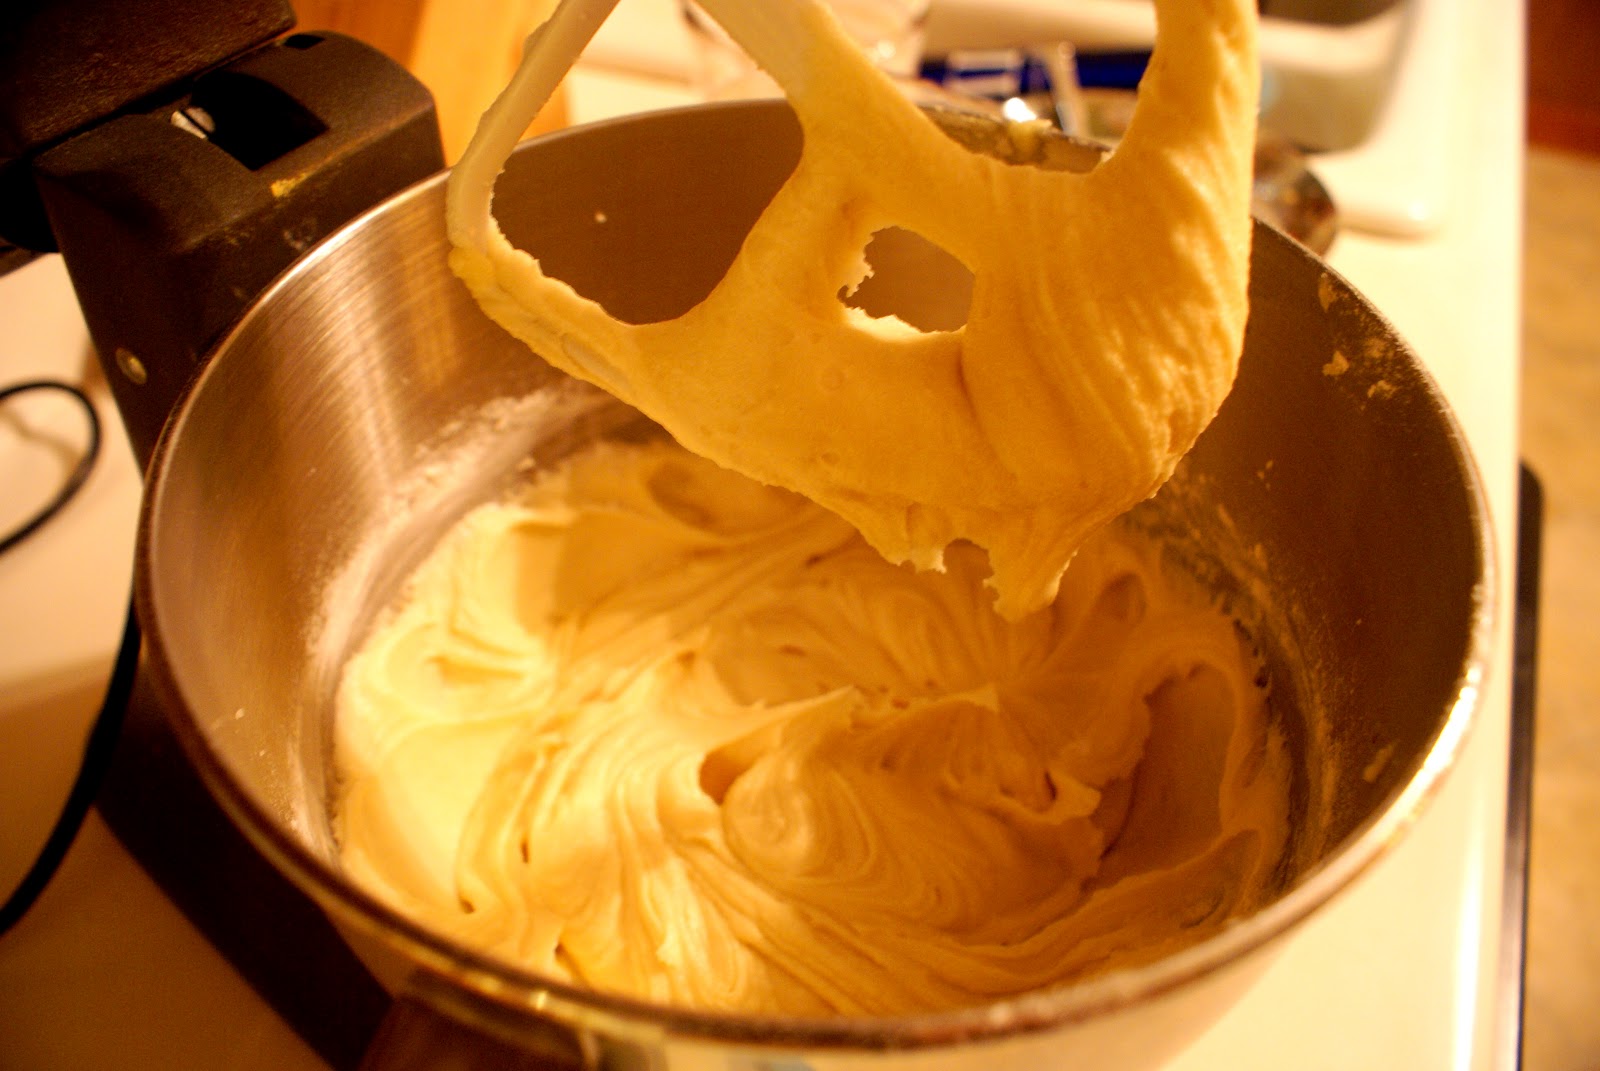
Set the mixer on low and gradually pour in the flour mixture until it looks somewhat like this.
Now let's get started on the filling!

Here are the cute little 4 tablespoons of brown sugar. (I just used my flour bowl again)

And add 2 tsp. of ground cinnamon. Get a fork and break up the brown sugar, and stir in the cinnamon.

Here are the two bowls waiting for the morning.
So I put the bowls in the fridge, and as soon as I woke up this morning, I went straight to the refrigerator and got my precious little bowls that had been waiting patiently while I got six hours of sleep.
OK, preheat your oven to 350 degrees Fahrenheit.

Get out your Bundt pan, and grease it like nobody's business. If you want the cake to come out in one piece, you better make sure that pan is good and greased.

Sprinkle flour into the pan to anti-stick it even more. Did that make sense? And put half of the batter into the pan.

Sprinkle half of the filling over the batter. Since I put my batter in the refridgerator, it got kind of doughy, so yours will most likely look more like batter.

Spread the rest of the batter over it.

And sprinkle the rest of the filling on top.

And put your cake in the oven for 55-60 minutes.

When the timer goes off, take it out and see if a knife sticks in the highest part and comes out clean. If it does, you're ready to flip!
Go around the sides and around the middle of the pan to loosen the cake. Lay a cooling rack upside down on the pan, then grab both the pan and rack, and flip it over! Pick it up and put it down a couple of times to make the cake fall out. Lift up one side and see if you can see cake. If you can, lift off the pan.

Yay! If any part of the cake doesn't come out, just get it out of the pan and put it in the correct place on the cake. No one will know. I actually had to put a little piece that didn't come out on top, if you can't tell.

With a bread knife, or any other sharp knife, cut the cake very delicately so it doesn't fall apart. Serve warm with fresh fruit if you want to.
Alrighty, hope you enjoyed it! I sure did, in both the making, the eating, and the posting. Let me know if you try it out! See you on the next DIY recipe!
Impressive! This recipe looks delicious! I love your blog :) Very sweet.
ReplyDelete♥
Talia Christine
http://taliachristine.blogspot.com
Aw, thanks Talia! Well you should try it! Let me know if you do and how it turns out! Thanks again!
DeleteAlly Holloway <><
I love this post, Ally! Your photos are so helpful and your captions make me giggle. I love you!
ReplyDeleteThanks Casey! I'm glad the captions make you giggle. :) That was kind of the point. :)
DeleteLooks delicious! Good job on your blog!
ReplyDeleteThank you Mrs. Ginger! Maybe you could make it! :)
Delete