Tuesday, May 22, 2012

DIY Recipe: Crawfish Boil - In a Pot!

We went to a a crawfish boil last night, had lots of fun, and then brought the fun home with us. This afternoon, my sister Casey and I gathered the leftovers and threw this together for a Crawfish Corn Sausage Potato Soup.....aka, Crawfish Boil - In a Pot!


Okay, so we had a gallon-size Ziploc bag full of whole crawfish, and when we peeled them, it looked about 2 or 3 cups of tail meat, but just peel as many as you have.


Finely chop 1/2 of an onion, and a stalk of celery. We'll get to the garlic later.


Melt 3 or 4 tbsp. of butter in a big pot. Go ahead and put 4 tbsp. Remember to smile as you melt it.


Throw in the onion and celery into the big pot.


And stir. And stir some more.


Now finely chop 2 cloves of garlic and dump it into the big pot, so it can make friends with Mr. Onion and Ms. Celery.
                 

Cut the kernels off of your corn cobs and start dumping it into the big pot.


Like this. (Or you can use frozen corn, if you don't have corn cobs)


Here are all of the kernels.


Here are all of the cobs. 


Now dice your potatoes, slice your sausage, and dump them along with the crawfish into........yep, the big pot.


Guest Blogger! My beautiful sister, Casey!


Oh, doesn't that look absolutely wonderful?


Now pour five cups of chicken broth into the big pot. 


Now add about a tbsp. of Paul Prudhomme's Seafood Magic seasoning, 3 tbsp. of sugar, and one big bayleaf, or two little ones. We are LEAFing this up to you. My sister and I are so punny. (budumbump CYMBAL CRASH!) Now cover the big pot and let it simmer so it can mingle, while you mix up a batch of Angel Biscuits to accompany your soup.


ME!

Now it's time for......Angel biscuits. Aw, yeah, it is.


Click on the picture above for the recipe, if you can't quite read it. If you want a giant batch of Angel Biscuits, follow this recipe. If you don't, half it as we did. Peace out.                                                                                  


Oh, wait I can't peace out! I forgot to introduce our helper, Skittles. He smelled everything to make sure it was alright. Now, you can look at the pictures below for the Angel Biscuits.


 Me and my sister! Big Chef, and Lil' Chef.


   Dump two and a half cups of flour and the rest of the dry ingredients in a big bowl. My cute little measuring spoon had to make an appearance.     


Now cut in about a third of a cup of vegetable shortening.


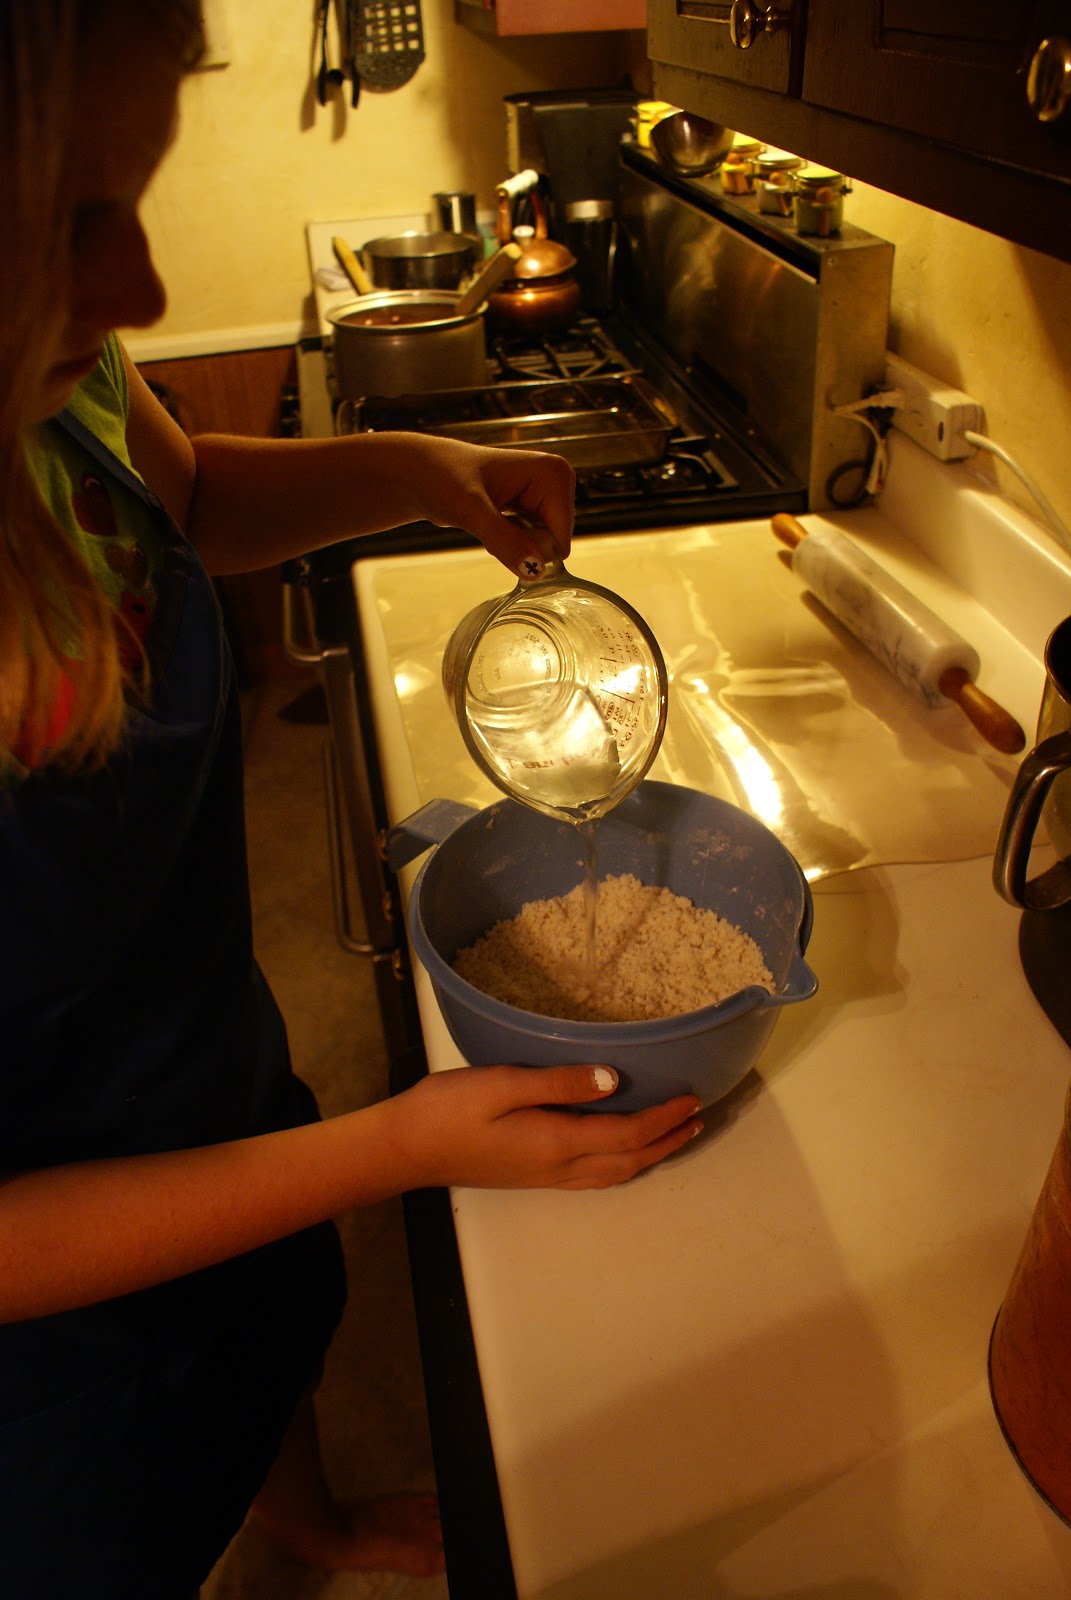
Pour in the buttermilk and yeast mixture.


And mix, mix, mix!
Cover and put the dough into the fridge until you are ready to use it.


When you are ready, pinch off a biscuit-sized blob of dough and place it on a lightly-greased baking sheet.


 And do the rest.


Imagine these are baked. Use your brains.....because I kind of forgot to take a picture of the baked biscuits.

Now pour a steamy bowl of....Crawfish Boil - IN A POT, with a warm BAKED Angel Biscuit slathered with creamy butter, and enjoy your meal! TA DA!

Monday, May 14, 2012

For the Love of Cats

I went outside on our deck this morning while my mom was out there, and almost all of our cats were out there, either lying around, or rubbing against my legs, and I thought, This is a great photo opportunity. So I went inside, got the camera, and these are the shots I got!


My clients: Alfanzo, Biscuit, Katrina, and Sandy. I'd like to thank them for all of their hard work sitting, lying, and walking. And being just absolutely beautiful posing for me.

Tuesday, May 8, 2012

DIY Family Recipe: Blackberry Cobbler

This recipe has been in my family for generations, and it's still SO good. It just is. Well, go find your aprons!


Make a glass of ice water with lots of ice. And no, this is not for you to drink. Sorry to burst your bubble.


    Put a quart (4 cups) of blackberries into a pot, and put a small amount of water into it.                                                                              

                                                                             
Then pour in 1 1/2 cups of sugar. (1 cup for wild berries) Turn the heat to medium.


Now put 2 cups of flour into a mixing bowl, and a tsp. of salt. Here's my cute measuring spoon again.


Here's the flour mixture.


And here are the delectable blackberries. Oh yum.

Preheat your oven to 375 degrees Fahrenheit.


Now put a cup of vegetable oil shortening in to the flour mixture. Now if you store your shortening in the pantry (as I do), put it in the freezer for about 15 minutes to make sure it's chilled. Mine was in the pantry so it was warm.


Chop up the shortening into the flour mixture until it's little bits. Yours may look a little different if your shortening is good and chilled.


Now measure 1/2 a cup of the ice water you made earlier, being sure you don't get any ice in it. You made it at the beginning, because it has to be good and cold. I hope you didn't drink it.


Now mix it thoroughly, but don't over mix. Then put flour into the bowl, and form a ball. (these are my mom's hands)

Flour your surface.


And grease a 14 by 9 inch pan. In this recipe you don't have to grease it like nobody's business. Just grease it.


Make sure your berries are just simmering, not boiling. Don't they look just absolutely delicious? Well don't eat them.


Now cut the dough in half, and roll both halves out, thin and oblong.


Now pick it up (GENTLY) and lay it on one half of the pan, with one side hanging out, like so. Do so with both halves. And the good thing about cobblers is that they don't have to be perfect. So just let it do what it wants to do.


Now it's time to......pour in the berries! Oh, it's so fun. Just SO fun. It will splatter, so pour them in slowly, or else....well, let's just hope you wanted your kitchen painted purple.


And even out the berries.


This step is optional, but I think it makes it all the better. Put small pats of butter all over the berries.


Now fold over the halves that were hanging out. Remember, it doesn't have to be perfect! So if it tears, parts sink, it gets scrunched up, just let it be! It will make it look yummy.


And bake it for 35-40 minutes....until it looks like this.......mmmmmmm....


YUM. Serve by itself, or with whipped cream. YUM.

Remember to try your hand at this recipe! And let me know if you do in the comments!

I hope you enjoy this recipe! Happy Baking!